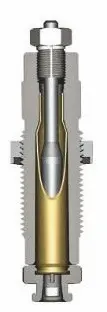
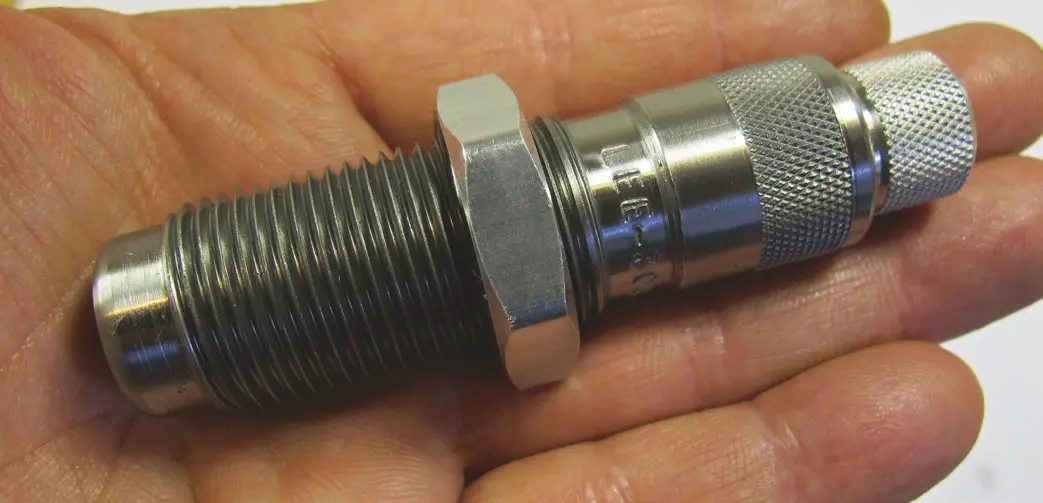
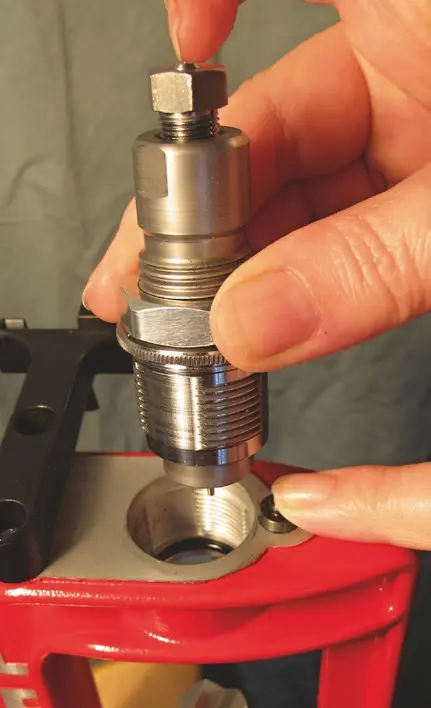
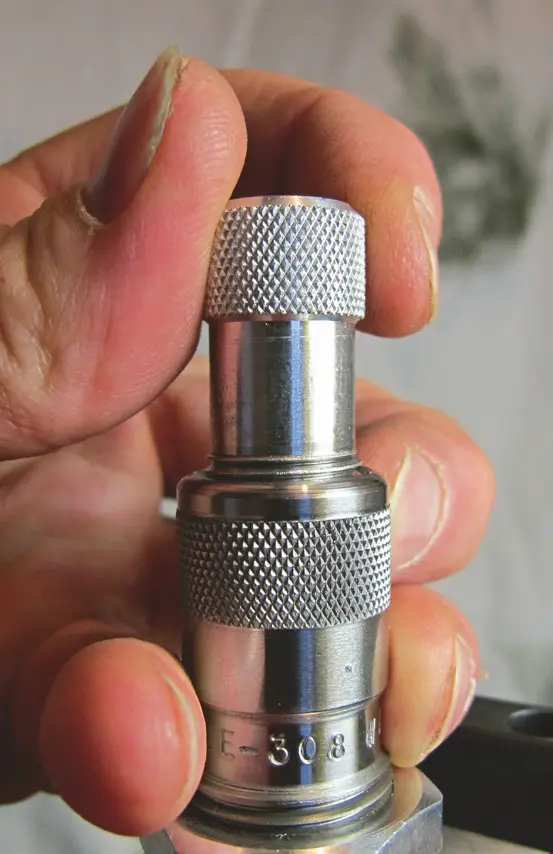
The die for full calibration, at the bottom it is slightly soiled with lubricant.
Screw-in the die or clamp it in the press using the Breech Lock Quick Change insert.
Insert the primer seating arm and shell holder. We won't need the primer seating arm for seating primers, but one side of it serves as a deflector to guide the the old primer, and if we don't put it there, the spent primers will end up rolling on the floor.
We push the press lever lower to the bottom stop, ie, the cartridge holder will be in its upper stop position. Adjust the die so that there is zero play between the case holder and the die, to full contact. With a single-operation press, we can afford to screw it a half spin lower, or even more - the cartridge holder stops earlier than at the top of the stroke, but in this case, it does not matter. You will be sure that the cartridge is properly formed along its entire length. The clearance between the cartridge holder and the calibration (formatting) die is NOT desirable and can cause problems. You can test the setting with the first case, when the case presses on the sizing die, and reveals the possible clearance. Pay really close attention to the adjustment.
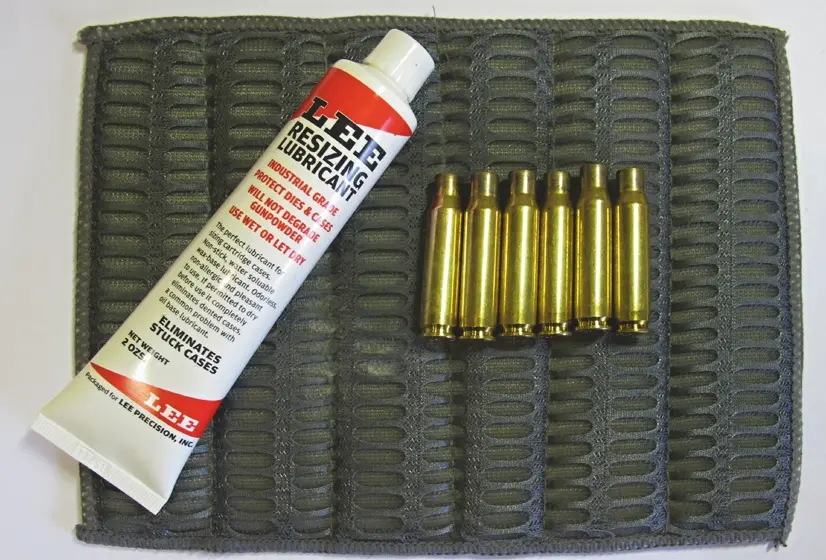
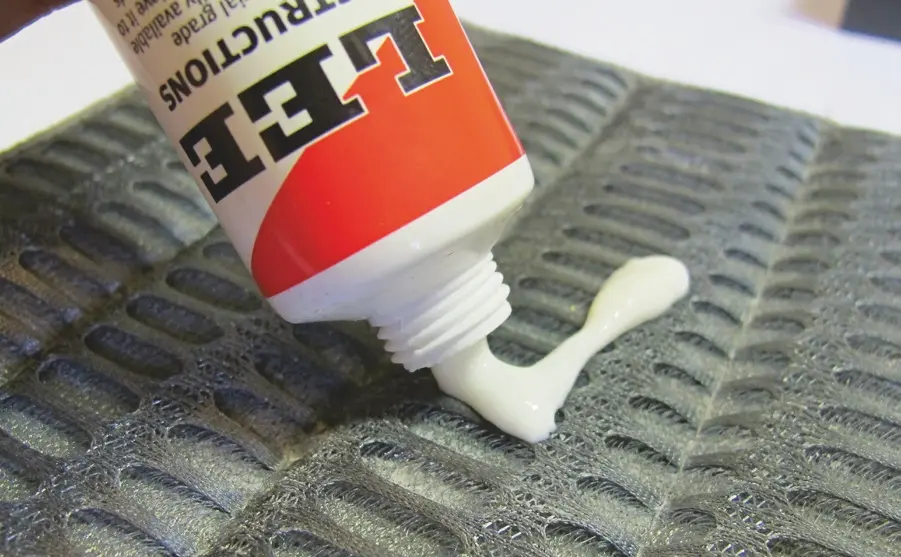
Cartridges must be lubricated! For lubrication of cartridges, we use only lubricants designed for this purpose, such as Lee Resizing Lube. The forces are considerable and it is not pleasant to force a stuck cartridge out of the die. Using gun oil is tempting, but don't do it. It doesn't work well.
How to lubricate cartridges? Use a suitable pad, apply a little lubricant to the pad or cartridge and roll them with your palms.
After a few cartridges, both the pad and your hands will be sufficiently lubricated and it will work on its own. Use low, stable pressure, not shock. Be careful, in case you need unusual force to size a case, you probably came across a case with Berdan primers. If you size the cartridge from different sources, the force needed to size the cartriges may (and will) vary. If the force still exceeds what you are used to, and it is not a Berdan match, size the cartridge in a few strokes and not one. Relubricate between the cartridge strokes, or at least turn it in the cartridge holder.
Author's note: I size the cartridges with two full strokes, rotating the cartridge by about 90 ° between the strokes.
Cartridge modification
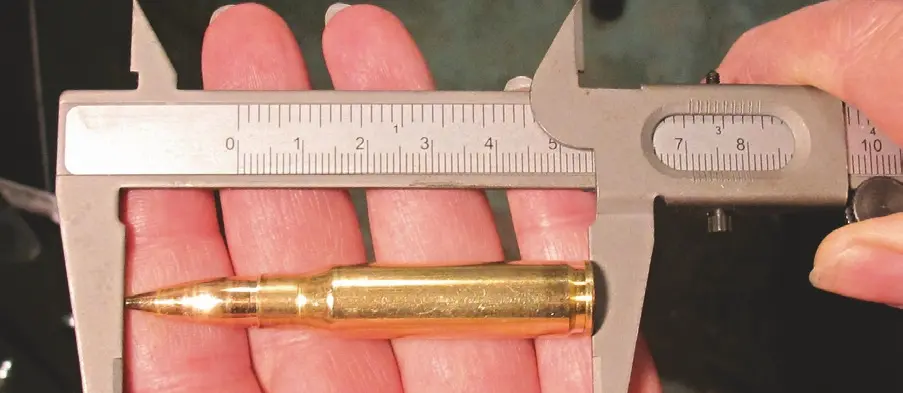
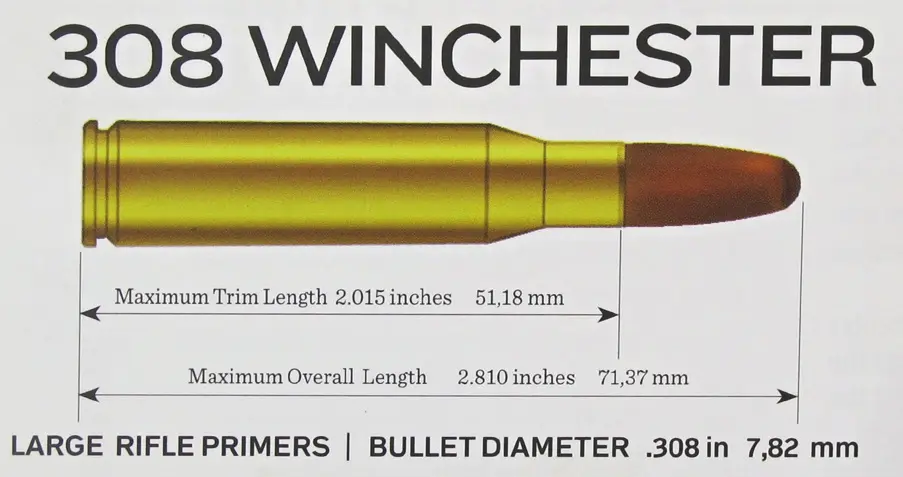
Looking at the Lovex load tables in this publication, we find a column labeled Bar, indicating the maximum pressure for a given caliber. Pressure of over 4,000 bar is nothing special with rifle ammunition. One bar is approximately equal to a pressure of 1 kg per 1 cm2. When firing a rifle, the pressure of the gases propelling a bullet roughly equals to weight of three passenger cars, concentrated on the surface of one finger. Of course, this will also affect the cartridge case by stretching it, extending the neck. In case we neglect these length changes, we will run into a problem.
- Different friction between bullet and case, loss of accuracy
- Problems with fitting ammo in a chamber
- In extreme case, when the neck no longer has a place to open, because it exceeds the size of the ammo chamber (but it is possible to charge such a long brass in the weapon) and causes a large increase in friction, which can ultimately lead to destruction of weapon.
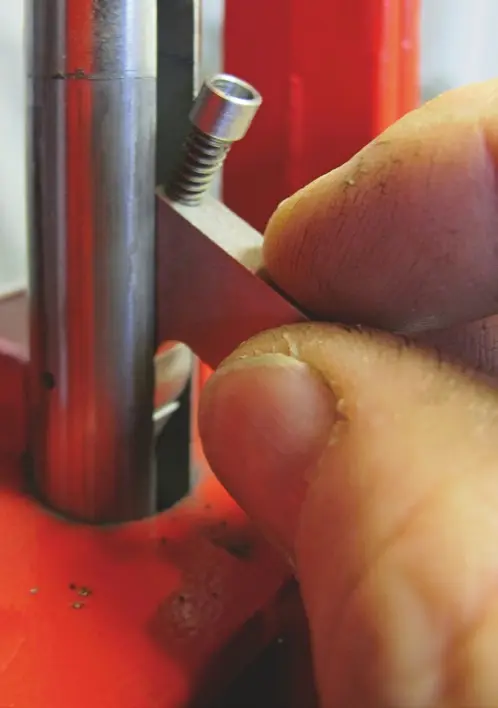
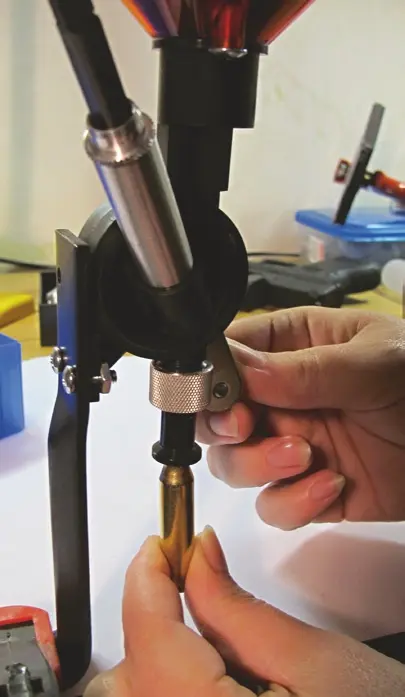
Therefore, it is necessary to take time to check the cartridges after calibration, and trim them if necessary. I use Lee Case Trimmer, other methods are described in the relevant chapter, brass case care and modifications.
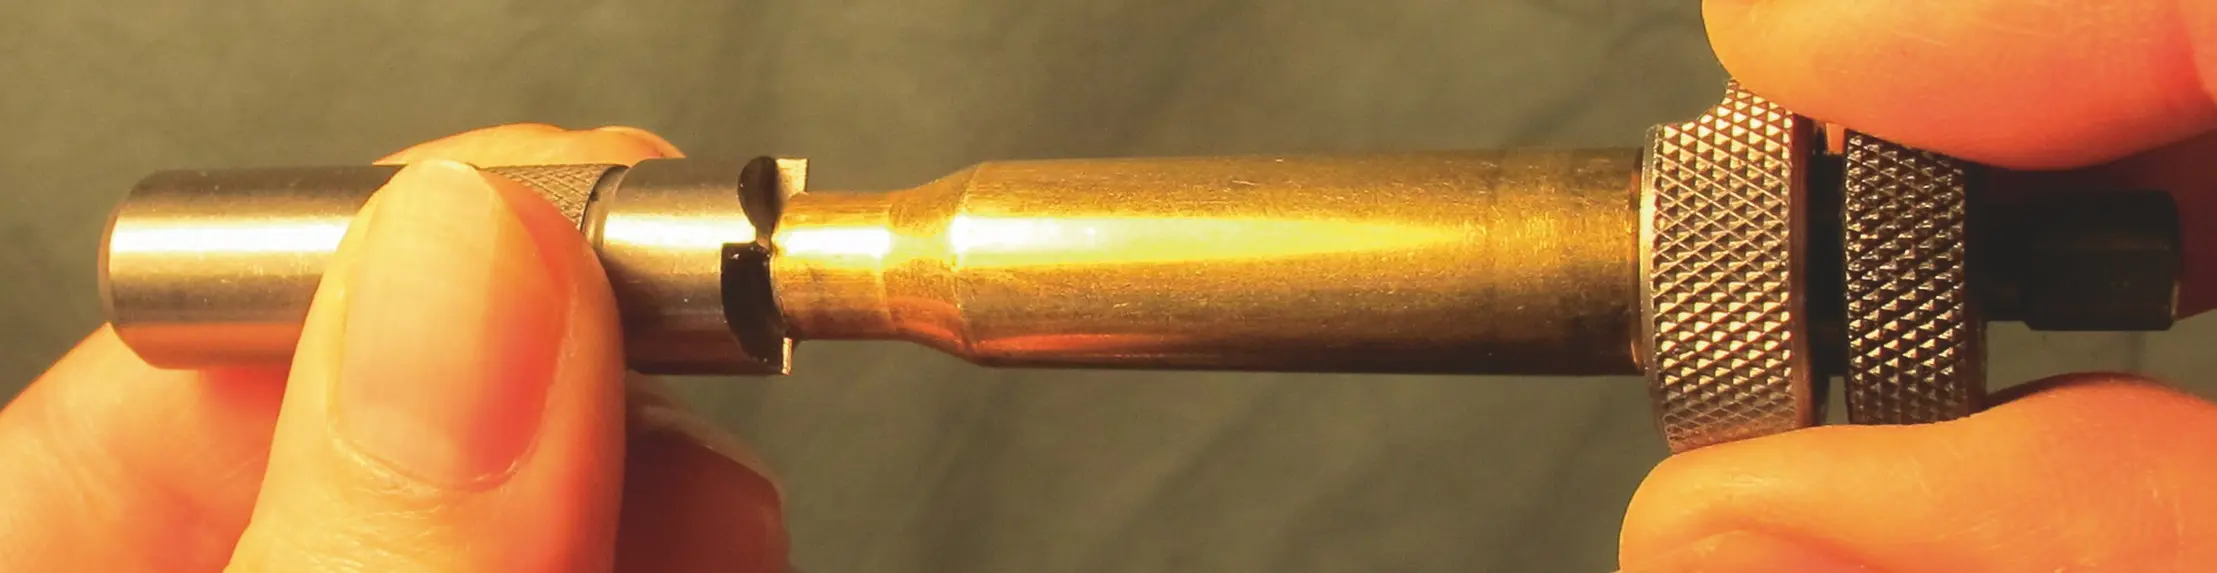
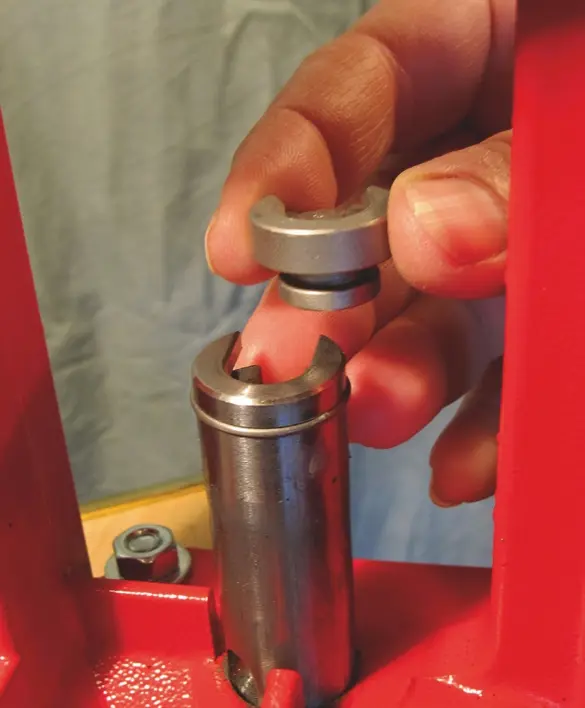
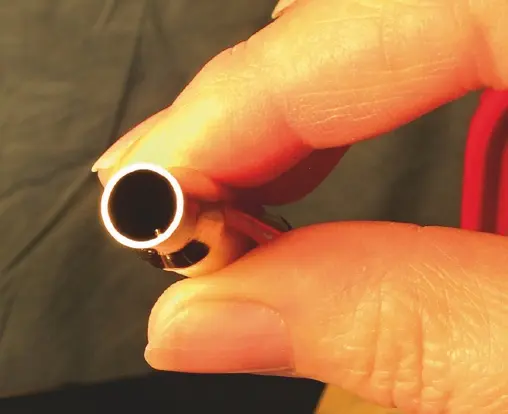
Using Lee Trimmer is easy and needs no further explanation. We either trim the cartridge case by hand, or clamp the case holder in a cordless drill or screwdriver. After trimming the neck, we can clean the cut by removing the inside and outside burrs using the Lee Chamfer Tool, by uniformly turning it in your fingers. The neck of the cartridge case must be clean without burrs, both from the outside and inside.
Cutting of external and internal burr
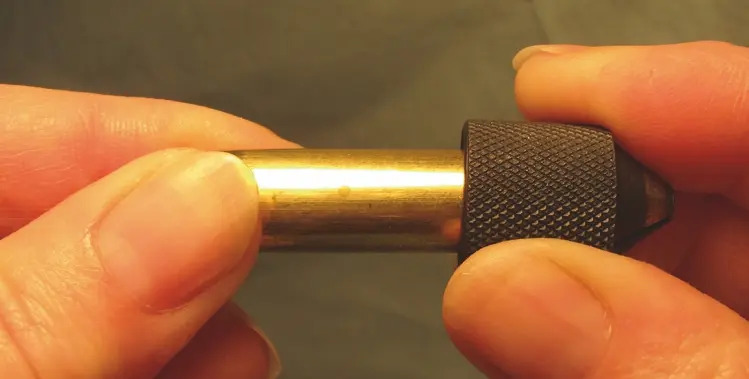
The last step is cleaning the primer pocket, for which we use a compact Lee Primer Pocket Cleaner. For thorough cleaning of the primer pocket, simply turn the pocket cleaner several times.
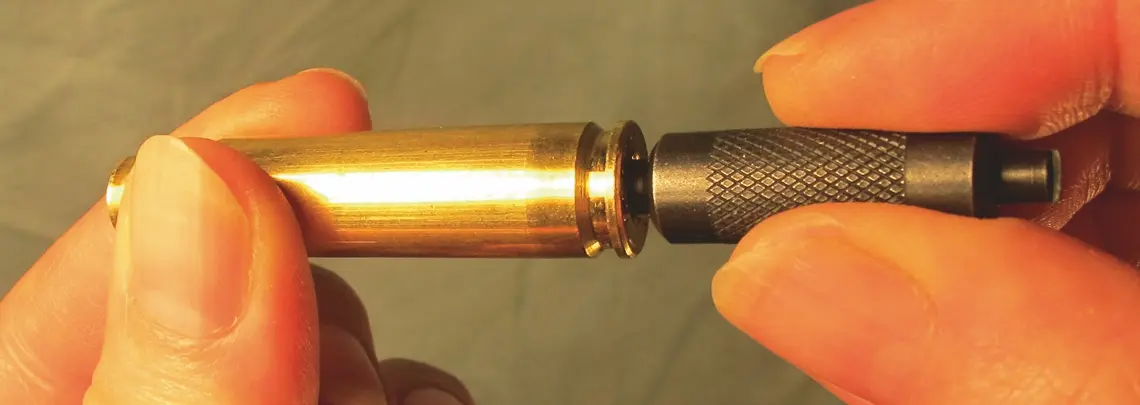
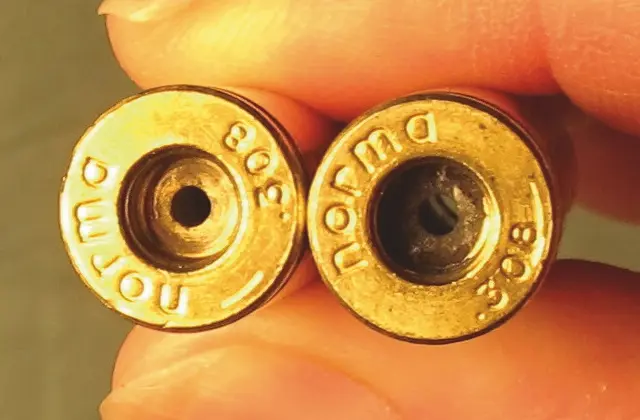
Before and after cleaning the primer cavities.
Primer seating
There are several ways to prime your brass (to provide the cartridge case with a new primer), see chapter Priming. For small batches of about 100 pieces, I like to use the Lee Ergo Prime.
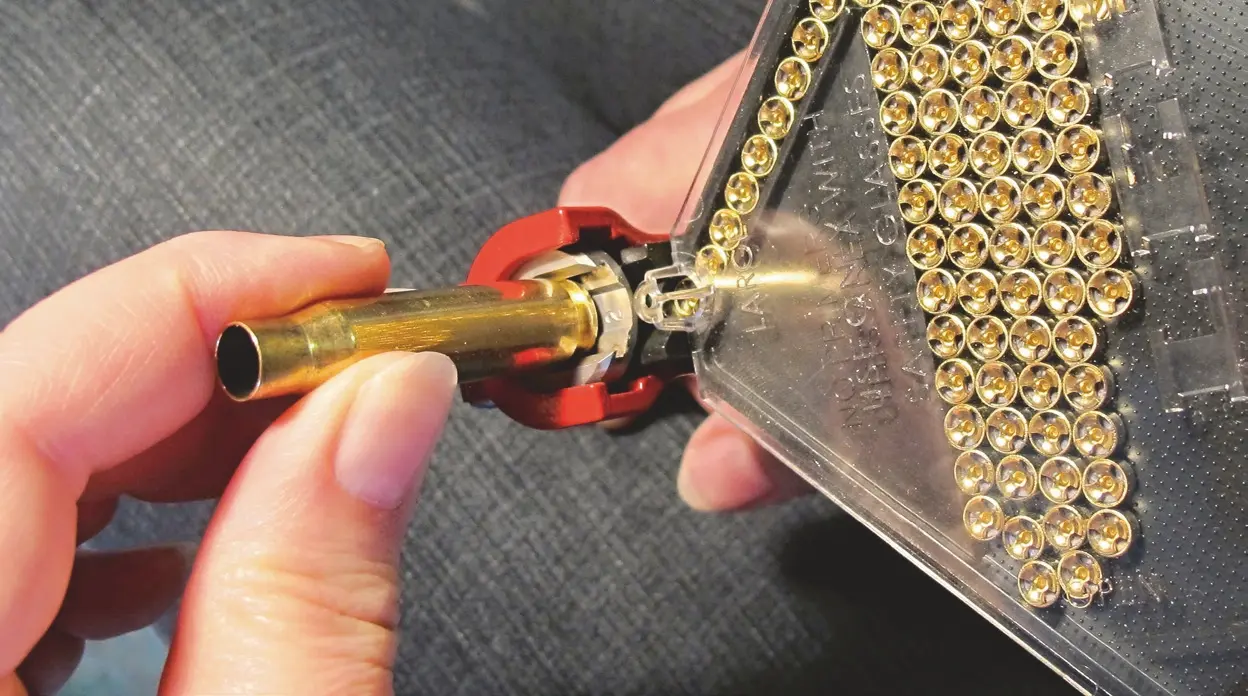
Pour the primers on the primer magazine plate, and by light tapping and jerky movement to sides, we turn all of the the primers on a plate to the desired direction. Always check that the primer has been pushed properly into its pocket. Slightly raised primers can be pressed. If you find a defect in an already finished charge, ie a protruding, insufficiently seated primer, it is better to disassemble the ammo. Never seat/press on primers on a finished cartridge.
Gunpowder
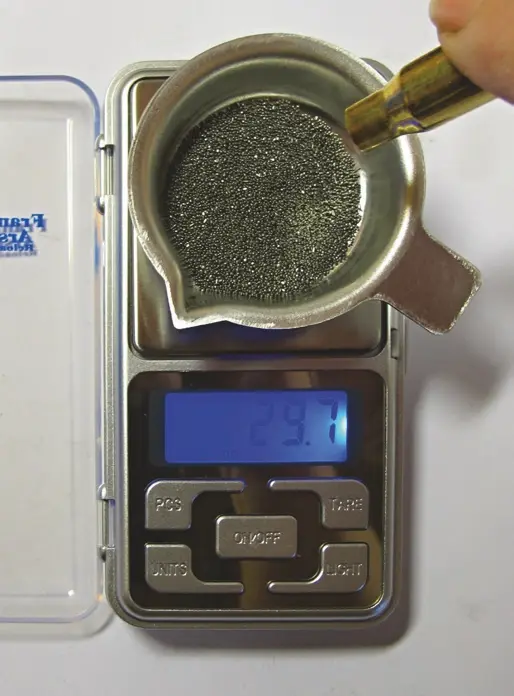
The next step is to charge the case with gunpowder. The powder charge, ie the amount and type of gunpowder, is determined by looking at load tables or using a suitable software like QuickLoad. For more information, see the chapter: "Determining the powder charge". For measuring and dropping the powder charge, I use a
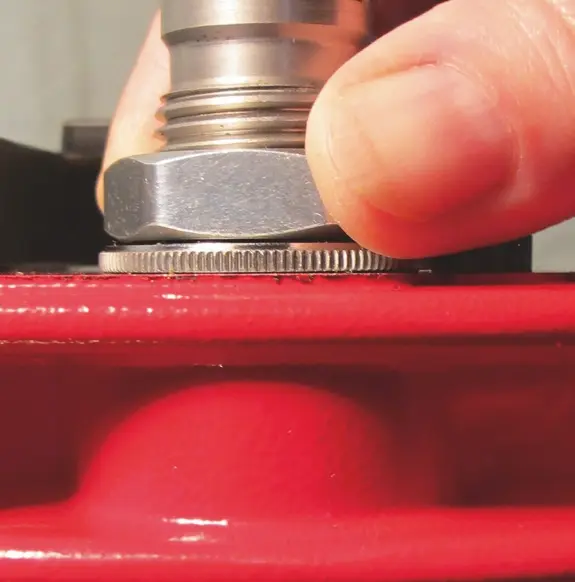
Lee Perfect Powder Measure. It is a simple powder measure with a volumetric metering chamber. The powder container can be removed, and also closed by turning it. The disassembly/separation of the powder hopper from from powder measure body is achieved simply by pulling in the hexagonal part.
CAUTION: Turning the container to close it, can be relatively easy. If you close it while charging, you may have a problem. The operation of the powder measure is easy to control, because the powder charge of most rifle cartridges is sufficient to cause a noticeable movement of the hopper's powder level. To adjust the volumetric powder charge, use scales and go by trial-error. It is more accurate to weigh multiples of the dose, double, triple, etc.
Keep the powder level in the hopper at about the same level, so there's always the same pressure on the powder charge metering chamber. It's better to simply fill the duster more often. The dose of dust for rifle ammunition is much higher than for pistols. It takes a while for the powder to pour into the cartridge case, so always give it some time, usually 2-3 sec. Thre greater powder charge, the longer it takes. After charging the case with powder, I always immediately seat a bullet.
Bullet Seating
The seating die has two functions. First, it seats the projectile to the appropriate depth. Second, it crimps the bullet. The correct overall length (
OAL) of the ammo can be found in the loading tables. More information about bullet seating can be found in chapter "Determination of seating depth". The die can be adjusted to bullet seating only, and leave crimping for the next die - the Lee Factory Crimp Die. Although crimping is an extra operation, I recommend using it in the following cases:
- Ammunition for hunting purposes
- Ammunition that will be used in magazines, ie will be subjected to recoil of the weapon
- Self-loading weapons
- It refines the ammunition, to which we will return in the next chapter
The author uses the seating die only for seating the bullet. However, we will discuss both options, adjustment only for seating, and adjustment for both seating and crimping.
A) Seating without crimping
Screw the adjusting screw of the die into the die as far as it will go and return it by approx. 2–3 turns.
Screw the die lightly into the press and insert primed cartridge with powder charge and bullet on top. Stroke the press to the extreme upper position, at the end of the stroke you should feel the increase in resistance given by inserting the projectile into the cartridge case. If you do not feel any resistance, go down with the cartridge and screw the die lower into the press.
Dimensions given by CIP/SAAMI standards are the maximum allowed. I.e. they can be, and in most cases they are - depends on your weapon's chamber. There are also opposite options, when you go for a longer-than-standard OAL. You can find more information on this matter in chapter "Seating depth". After the first attempt, OAL is likely to be too long, and won't fit the chamber. Screw-in the die more and repeat the measurement. Do not rush and continue in small steps, until you get about 1-2 mm above the desired length. Secure the die with a lock ring.
The last 1-2 milimeters to the final length are adjusted more precisely in smaller steps with a central screw on top of the die. This adjusts the die to seat the projectile without crimping it. The next necessary step is to crimp the bullet in the Lee Factory Crimp Die.
B) Crimping with seater die
Now we have a round with a properly seated bullet, which is not crimped. Unscrew the small central screw.
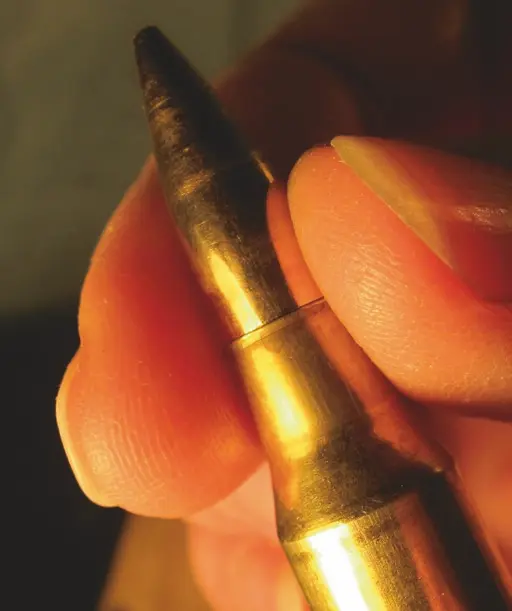
Loosen the die locking screw. Insert the case in the case holder and lift it to the upper position. Now we screw the the die body into the press until we feel the contact of the crimping surfaces and cartridge case. We lower the case a bit, screw the die in by approximately max. 1/8 turn and perform the stroke. If it is not small, lightly tighten the matrix. On the hub, the constriction can be seen in the form of a narrowing of the front of the neck. When you overdo the strangulation, it can manifest itself in a wave on the neck of the cartridge case. Deformation makes it impossible or very unpleasant to charge the charge into the ammunition chamber of the weapon. When we are satisfied, we will secure the position of the die with a circlip. Subsequently, with the inserted cartridge with the correct length, we set the central screw of the die simply by screwing it in until it lands on the projectile.
Measure and check the next charge to make sure you have made the adjustment correctly. Throttle adjustment is not always optimal. For best results, use the
Lee Factory Crimp Die crimping die
Crimping with Lee Factory Crimp Die
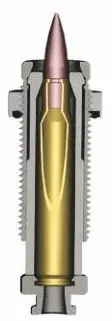
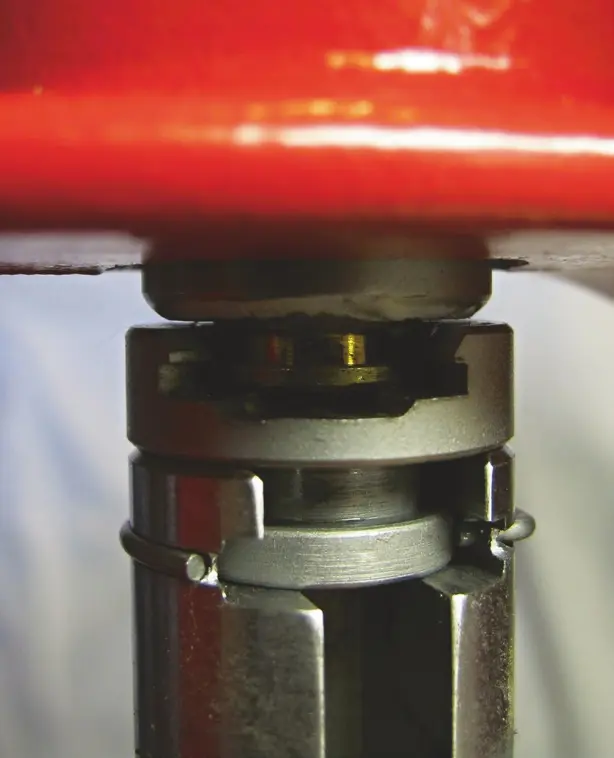
The
Lee Factory Crimp Die chokes the neck of the cartridge case by perpendicular pressure of the collets on the cartridge case. The movement of the collets is caused by the pressure of the cartridge holder on the ring protruding in the lower part of the die. As mentioned above, I recommend its use in these cases:
- Ammunition for hunting purposes
- Ammunition that will be used in magazines, ie will be subjected to recoil of the weapon.
- Self-loading weapons
- It refines the ammunition, strengthens the constriction in the Lee Factory Crimp Die matrix and balances the lift forces. The greater the lifting force also means more space for comparing the conditions in the combustion of the powder composition, the cartridge then leaves the projectiles at more balanced speeds.
- Insert the bullet with the projectile into the cartridge holder
- Screw the die into the press
- Press the press lever to extend the press shaft to the upper-end position
- Adjust the die so that it touches the cartridge holder
- Drive the hub down a bit and tighten, screw the die into the press by approx. ½ turns
- Push the cartridge back into the die, there must be a noticeable increase in force required
- Slide out the charge and inspect the neck charge
The correct adjustment is such that:
a) the press reaches its extreme upper position
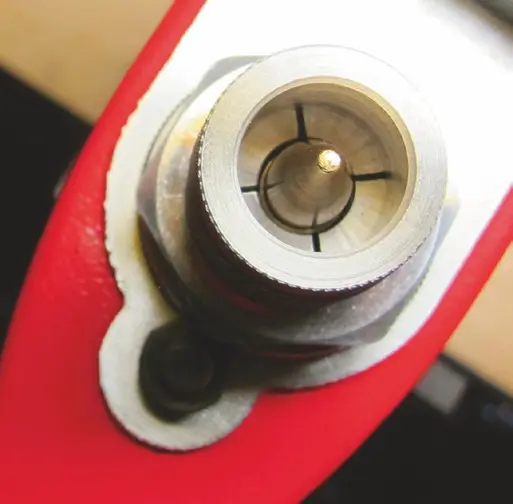
b) there is a noticeable imprint of a choke on the cartridge case, see the picture
Possible varnishing of the match
Overcharged cartridges are in most cases sufficiently tight against water and oil. The oil penetrates the charge more easily and degrades the dust composition than water, so tightness to oil over water is a priority. It is not necessary to seal the hubs for normal purposes. Only if you want to be absolutely sure and you know that the potential risk of contact with oils is real. For example, ammunition for hunting purposes provided that they will be in a canned weapon, such as a magazine, repeatedly, it is appropriate to paint both the edge of the match and the neck area, where there is a gap between the cartridge case and the projectile. A thin nitrocellulose varnish is ideal, for example, nail polish in an emergency. In most homes, it is usually available in many shades.
An example from Petr Leitner's book "Přebíjení střeliva do krátkých a dlouhých kulových zbraní".